Torch-on bitumen is the workhorse of South African flat-roof waterproofing — but it's also the system most often badly installed, most often misunderstood by homeowners, and most often blamed when the real culprit is poor prep or a missing recoat. This guide walks through the full installation process step by step, the lifespan you should realistically expect in the Cape, the honest disadvantages, and what your options are when the membrane reaches mid-life.
What torch-on waterproofing actually is
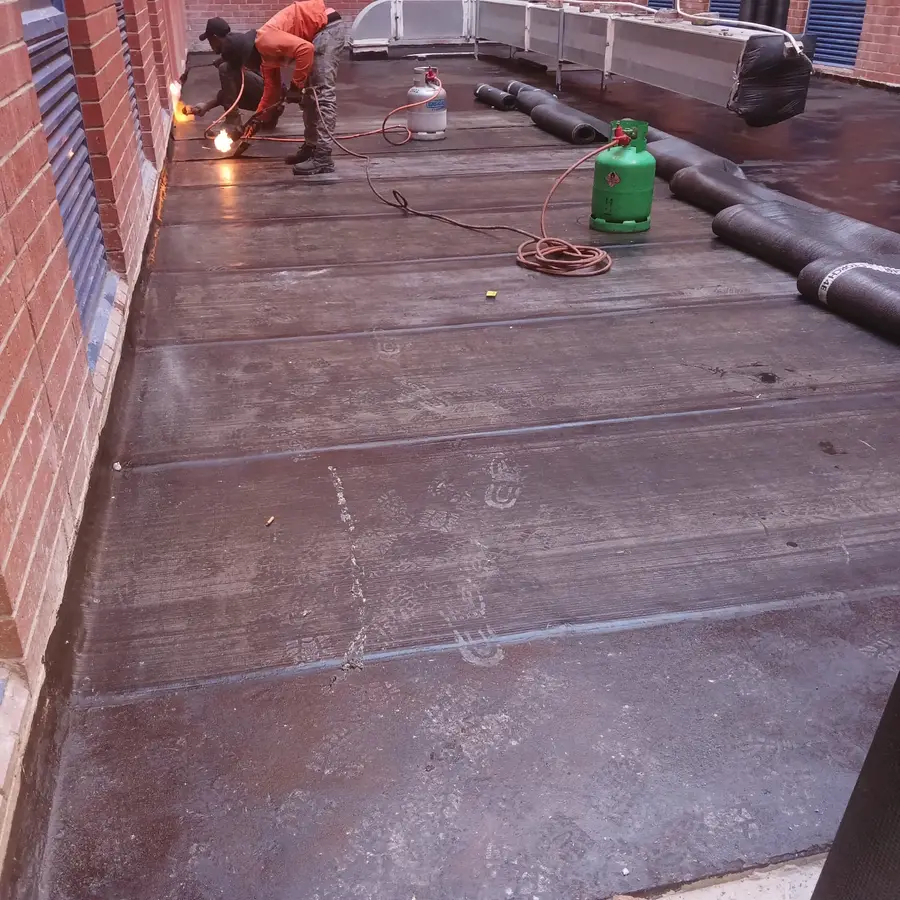
"Torch-on" refers to SBS- or APP-modified bitumen membrane supplied in 1 m × 10 m rolls, typically 3 mm or 4 mm thick, with a polyester or fibreglass carrier embedded inside. The underside of the roll is heated with an LPG flame torch until the bitumen liquefies, and the membrane is rolled down so it bonds to the primed substrate as one continuous waterproof skin. The leading brands you'll see on quotes in Durbanville are Index (Italian), Derbigum (Belgian) and a handful of local equivalents.
It's the system of choice on flat and low-slope roofs, accessible decks, parapet upstands and large industrial roofs because it's tough, UV-resistant when capped with a mineral or aluminium surface, and — when laid properly — genuinely lasts decades. The "when laid properly" qualifier is doing a lot of work in that sentence.
The torch-on waterproofing process, step by step
A correct installation is a six- or seven-stage job. Skipping any one of these is the single biggest reason torch-on roofs fail early.
| # | Stage | What happens | Why it matters |
|---|---|---|---|
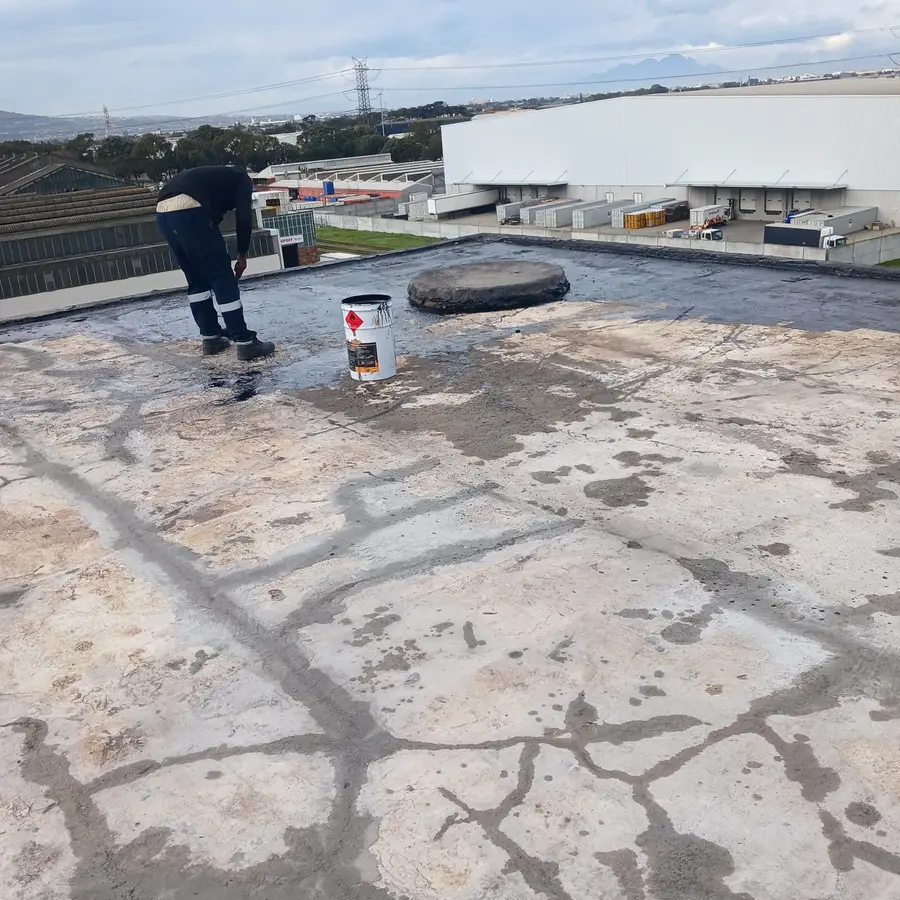
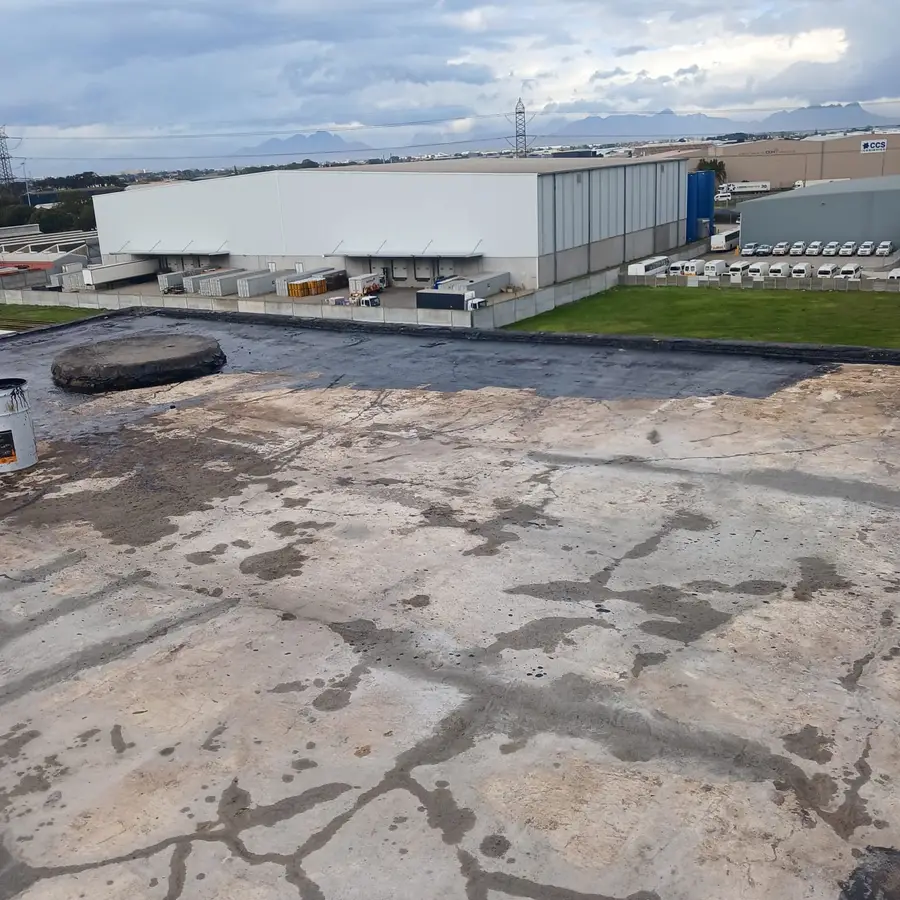
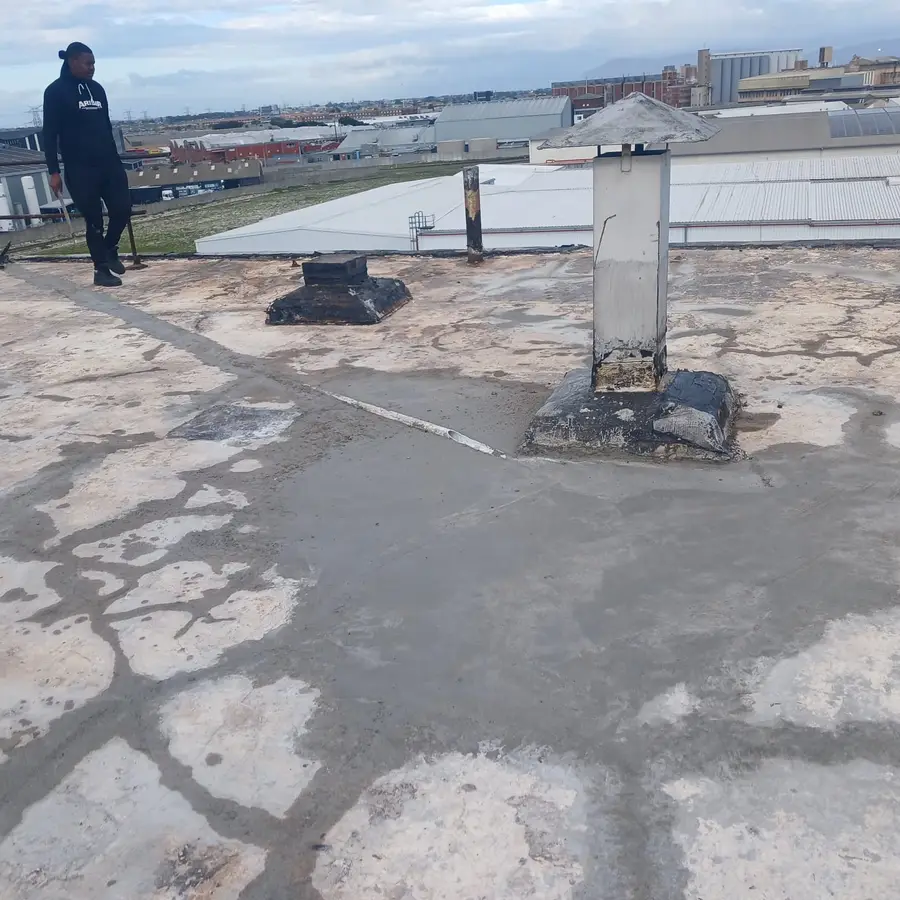
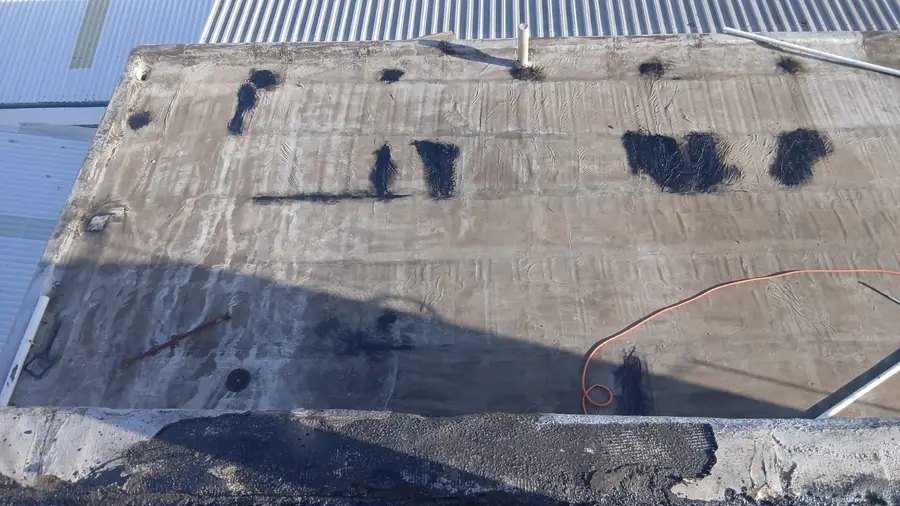
| 1 | Strip & inspect | Old membrane lifted, blisters cut out, screed checked for soundness and falls. | You can't bond new membrane to a delaminated old one. Hidden rot under blisters has to come out. |
| 2 | Substrate prep | Surface swept, vacuumed and dried. Loose screed re-skimmed. Drains rodded. | Moisture trapped under the membrane turns to steam in summer and lifts the bond. |
| 3 | Bitumen primer | Solvent-based bitumen primer rolled or brushed onto the entire surface and left to cure. | Primer is what actually glues the membrane to the screed. Skipping it is the #1 shortcut on cowboy jobs. |
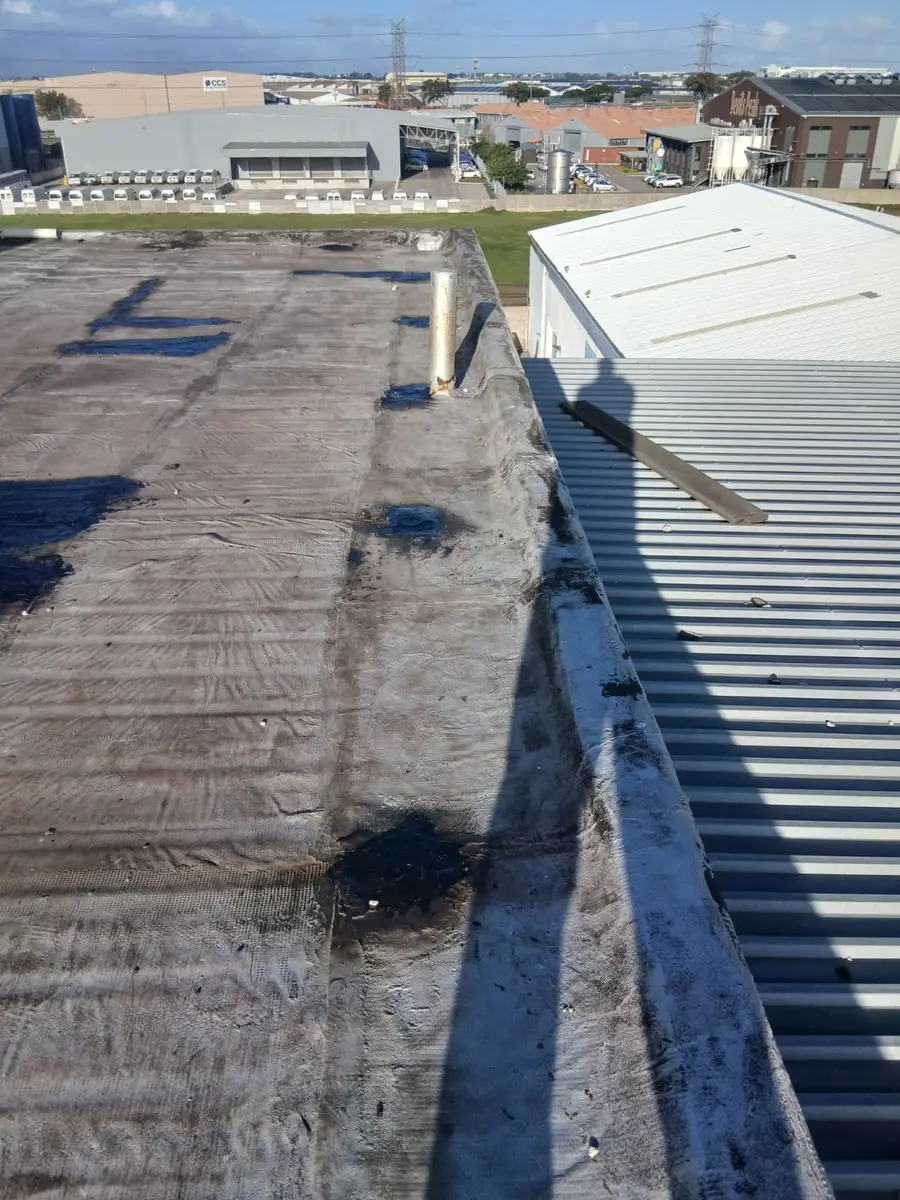
| 4 | Detail work | Reinforcing strips torched into all upstands, drains, pipe penetrations and internal corners before the main sheets go down. | 90% of leaks happen at junctions, not in the field. Detail work is where the real skill lives. |
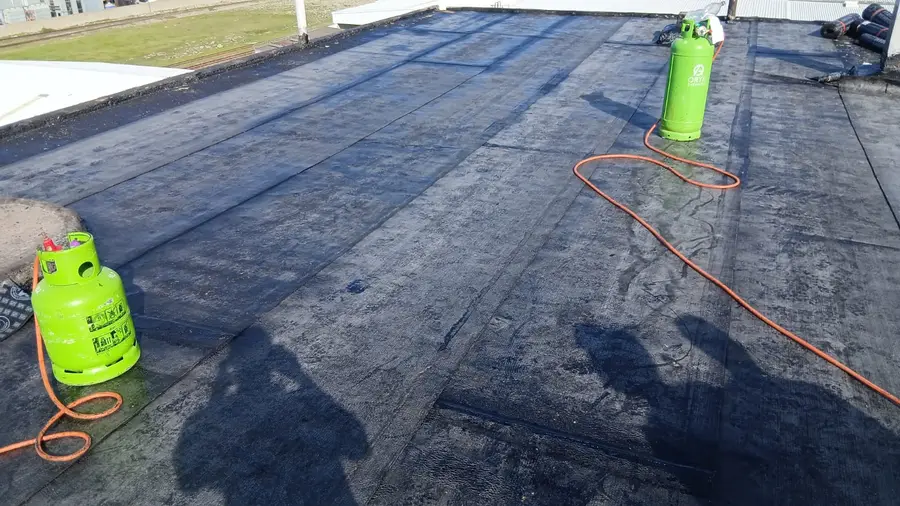
| 5 | Main field membrane | 3 mm or 4 mm rolls torched down with 100 mm side laps and 150 mm end laps, bitumen bleeding visibly out of every seam. | The visible bleed bead is the only proof the seam is properly fused. No bead = no bond. |
| 6 | Cap sheet or UV protection | Either a mineral-finish top sheet, or an aluminium bitumen paint applied after cure. | Raw bitumen oxidises in UV within 2–3 years. The cap is what gets you to 15+ years. |
| 7 | Flood test & sign-off | Drains plugged, roof flooded to 25 mm for 24 hours, written report issued with the manufacturer's warranty paperwork. | This is what separates a quote from a guaranteed installation. Ask for it in writing. |
A 100 m² Durbanville flat roof typically takes a competent two-person crew two to three working days from strip to flood-test. Anyone promising the same job in a single day is skipping the primer cure, the flood test, or both. If you want quotes from applicators who actually run this full sequence, you can get torch-on quotes from Durbanville applicators through the directory.
How long does torch-on waterproofing actually last?
The manufacturers publish 15- to 25-year membrane warranties. The reality in the Cape Town climate is more nuanced — UV exposure, salt-laden coastal air and seasonal thermal cycling are all harder on bitumen than the European test conditions the warranties were written for.
Honest field-life expectations in the Western Cape:
- 3 mm mineral-cap torch-on, well prepped: 12–15 years before recoat is needed.
- 4 mm mineral-cap torch-on, manufacturer-approved applicator: 18–25 years to full replacement, with one aluminium recoat at year 8–10.
- 3 mm smooth membrane with aluminium bitumen paint top-coat: 10–12 years, but the aluminium paint needs refreshing every 4–6 years to keep UV off the bitumen.
- Cheap "single-day" install, no primer, no flood test: 2–5 years. You'll see blisters, edge lift and corner failures in the second winter.
The recoat schedule is the part most homeowners aren't told about. Even a top-tier 25-year membrane benefits from an aluminium bitumen paint reflective top-coat around year 8–10 — it reflects UV, drops the surface temperature by 15–20 °C in summer, and adds five to seven years to the underlying membrane.
The honest disadvantages of torch-on roofing
Torch-on isn't always the right call. The cons are real and worth weighing before you sign a quote.
1. Open-flame fire risk
An LPG torch at 1,500 °C is being run inches from your roof for two days. On timber-framed roofs, fascias and overhanging eaves, the risk is non-trivial. Every reputable applicator carries SASRIA-approved hot-works insurance and a fire watcher stays on site for two hours after the last torch is shut off. Confirm both in writing.
2. Hairline detail work fails first
Field membrane rarely fails. The cracks always show up at parapet upstands, drains, pipe collars and junctions with brickwork. Liquid-applied systems handle complex details more forgivingly — see our torch-on vs liquid membrane comparison for when liquid is the smarter choice on a fiddly roof.
3. Limited repair options once cured
Patching torch-on requires another torch. You can't "spot-fix" with a different system without compromising the bond at the patch edges. By contrast, a liquid acrylic top-up takes a brush and a quart of paint.
4. Aesthetically it's a flat-roof system, not a visible-roof one
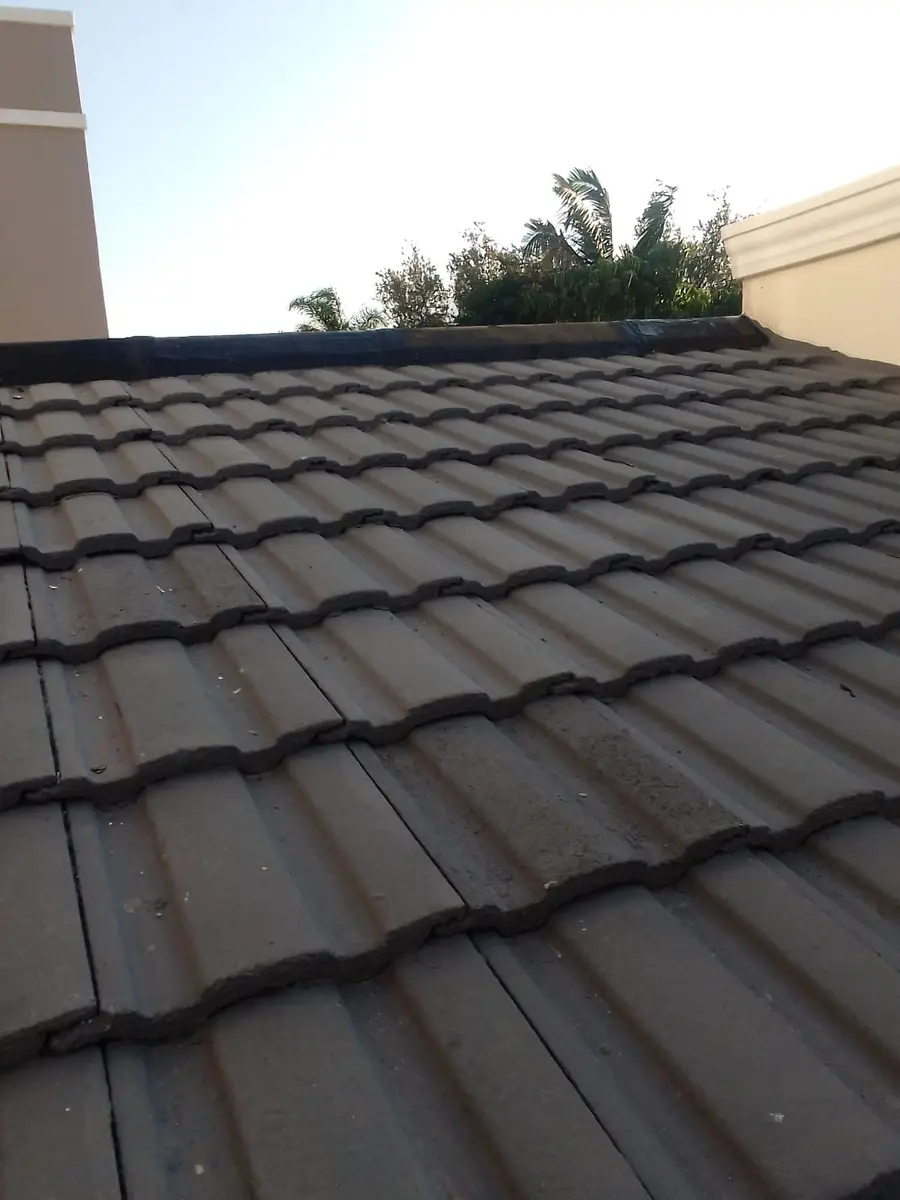
Torch-on is mineral-grey or black. It has its uses on hidden flat roofs but it's the wrong call on a visible sloped roof where shingles, concrete tile or metal sheeting will look better and integrate with the rest of the elevation.
5. The cost gap on small jobs is unfavourable
For roofs under 30 m², the fixed setup cost (gas bottles, primer, mobilisation) makes torch-on disproportionately expensive per square metre compared to a liquid acrylic system. Liquid wins on small jobs; torch-on wins on big ones.
Is torch-on cheaper than shingles?
For an equivalent area, yes — by a wide margin. A composite asphalt shingle reroof in the Cape Town market lands at roughly R650–R950/m² supplied and installed (including the underlay, batten and disposal of the old covering). A torch-on installation on the same area runs R220–R380/m² supplied and installed. So torch-on is typically 40–55% cheaper than a shingle reroof.
But this is a misleading comparison because the two systems aren't substitutes. Shingles need a pitched roof of 15° or more to shed water; torch-on works on anything from a true flat (1.5° fall) to a 25° pitch. If your roof is flat, torch-on isn't cheaper than shingles — shingles aren't an option at all. If your roof is steeply pitched, torch-on isn't cheaper than shingles — torch-on isn't an option (UV destroys it on a pitch within five years without a substantial cap).
The real "is X cheaper than Y" question for a flat-roof retrofit is torch-on vs liquid acrylic vs polyurethane vs cementitious slurry. For the full breakdown with per-m² ranges across all four flat-roof systems, see the 2026 waterproofing cost guide.
Can you paint over torch-on waterproofing?
Yes — and on most well-maintained roofs, you should. The painting question splits two ways.
Aluminium bitumen paint (the right answer 90% of the time)
Aluminium bitumen reflective paint is purpose-made for over-coating cured bitumen membranes. Suppliers in Cape Town include Plascon, Abe and Dulux. It's applied by brush or roller after the membrane has cured at least 30 days, refreshed every 4–6 years, and it does three useful things: reflects UV (extending membrane life), drops summer roof-surface temperature by 15–20 °C, and gives a visual cue when it's chalked off that the underlying membrane needs attention. Coverage is roughly 4–6 m²/litre per coat, two coats required.
Regular roof paint (almost always the wrong answer)
Acrylic roof paint formulated for tile or sheeting does not adhere properly to bitumen long-term — the plasticisers in bitumen migrate up into the acrylic film and craze it. Within 18 months you'll see peeling and flaking. If a contractor proposes a "roof refresh" with cheap acrylic over your torch-on, that's a warning sign about the rest of their work too.
What does torch-on felt cost per square metre?
Quick answer: R220–R380/m² supplied and applied in 2026 for a 3–4 mm Index or Derbigum membrane by an approved applicator, with mineral cap and full warranty paperwork. There's a lot more nuance — system grade, prep work, parapet area, accessibility — and the 2026 cost guide linked above has the full breakdown including what should be in every quote and what's typically excluded.
When to call a specialist
The signs your torch-on roof needs professional attention: visible blistering, alligator-cracking on the cap sheet, lifted edges or seams, ponding water 24 hours after rain, or any active drip from below. Don't wait for the first winter front — Cape Town's repair queues triple from June onward and the dry-day windows close. Submit a free quote request and up to three vetted Durbanville waterproofing specialists will arrange a free on-site inspection within 24 hours.
Need a free on-site quote?
Up to 3 vetted Durbanville waterproofing specialists will contact you within 24 hours to book a free no-obligation inspection.
Frequently asked questions
What is the torch on waterproofing process in a single sentence?+
A modified bitumen membrane is rolled out onto a primed substrate while its underside is heated with an LPG torch until it liquefies and bonds to the surface, with all seams overlapped 100 mm and visibly fused, all details reinforced first, and a UV-protective cap sheet or aluminium bitumen paint applied to protect the membrane from sunlight.
Does torch-on waterproofing need maintenance?+
Yes. A correctly installed 4 mm mineral-cap torch-on roof needs an aluminium bitumen paint reflective top-coat around year 8-10, and the same top-coat refreshed every 4-6 years thereafter. Drains and outlets should be cleared annually before the May rains, and any blisters or lifted seams should be re-torched as soon as they appear rather than left to grow.
How can I tell if my torch-on roof was installed properly?+
Three quick checks. First, look at the seams — you should see a thin bead of black bitumen squeezed out along every overlap. No bead = no bond. Second, check upstands and parapets for a reinforcing strip running 150 mm up the wall under the main sheet. Third, ask the contractor for the 24-hour flood-test report and the manufacturer warranty paperwork. If they don’t have either, it wasn’t a manufacturer-approved installation.
Can torch-on be installed over an old membrane?+
Sometimes, but rarely the right call. If the old membrane is firmly bonded, dry and intact it can be overlaid with primer and a fresh cap sheet — saving disposal cost. But if there’s any moisture trapped underneath, any delamination, or any visible blisters, the old membrane must come off first. Overlaying a compromised substrate traps the problem and halves the life of the new installation. A reputable applicator will tell you honestly which case you’re in.
Is torch-on safe for residential use given the open flame?+
Yes when handled by a licensed applicator carrying SASRIA hot-works insurance and a two-hour post-job fire watch. Residential torch-on installations are routine across Durbanville and the Northern Suburbs. The risk is mostly to timber fascias, eaves overhang and dry vegetation within 1 m of the work — competent applicators screen these areas and damp them down before lighting up.
How soon after installation can I walk on the roof?+
Light foot traffic for inspection is fine the same day once the membrane has cooled. Heavy use — placing geyser stands, walking pallets across, installing solar panels — should wait at least 48 hours for the bitumen to fully cure and re-firm. Aluminium bitumen paint over-coating, if specified, must wait at least 30 days from membrane installation.